
On this page · 7 sections
Quick answer
Use the hardware microphone button or switch when you want the speaker fully quiet (a red light on many Echo devices, or an orange indicator on Nest speakers and some Nest Wifi points). Then review what is already saved. For Alexa, open More > Alexa Privacy in the Amazon Alexa app, or go to amazon.com/alexaprivacysettings, and set recordings to auto-delete after 3 or 18 months, or choose not to save them. For Google Assistant, review Web & App Activity and My Activity, and set auto-delete to 3, 18 or 36 months; you can also say 'delete my last conversation.' For HomePod, open the Home app, tap the HomePod, open Siri settings, and turn off Listen For and Touch and Hold if you do not want voice or press-and-hold requests; delete Siri history there on software 27.2 or later.
The mute switch is the only control that is obviously off from across the room. Software history controls do not replace it. Family Link and Screen Time are separate from speaker recording settings. HomePod Siri history deletion is on HomePod software 27.2 and later. The Nest Hub display's on-screen microphone path was not fully confirmed in the help page opened for this draft, so use the physical switch on speakers that have one and confirm the display path in the device's current settings.
A smart speaker is convenient until you remember it sits in the kitchen with a microphone that is, by design, waiting for a word. The useful setup is not ripping it off the shelf. It is knowing which switch makes the mic obviously off, and how long the company keeps the recordings you already made.
These steps follow Amazon's Alexa privacy help, Google's Assistant activity controls, Google's Nest microphone-switch page, and Apple's HomePod Siri settings, all opened Nov. 10, 2026. They are for a speaker in a home you manage. If the speaker will not answer at all, that is a different job: see the not-responding guide.
Easy Mode: mute first, then decide what gets saved
1. Find the hardware microphone control
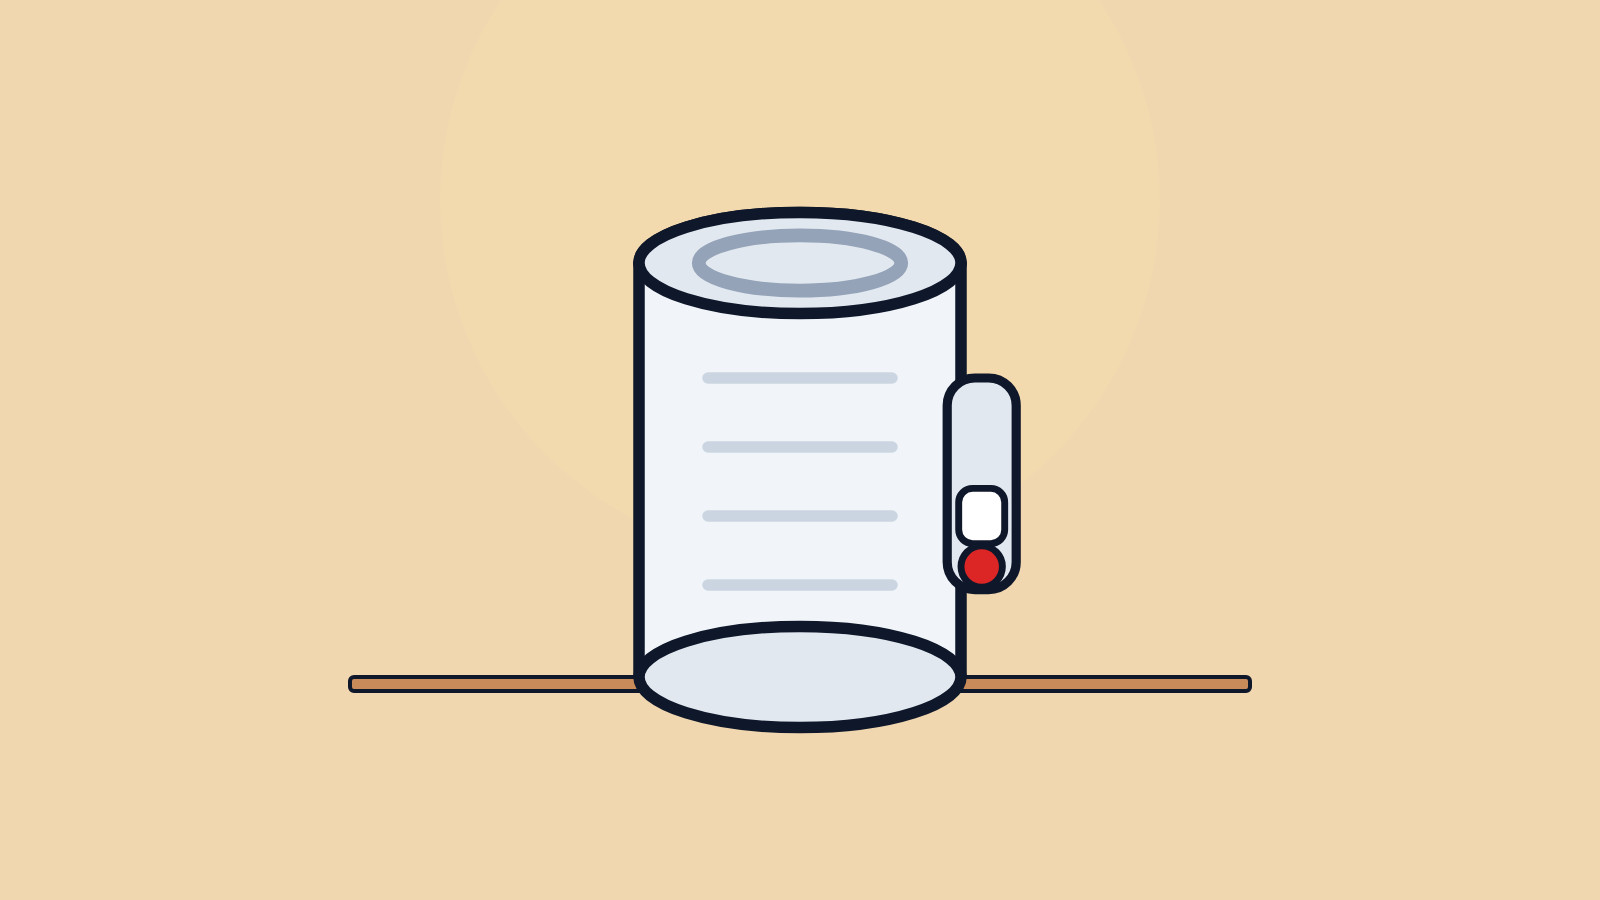
On many Amazon Echo devices there is a physical microphone button. When the mic is off, a red light is the usual signal that Alexa is not listening.
On Google Nest Audio, Nest Mini, some Nest Wifi points and other Nest or Home speakers, there is a physical microphone switch. Google says an orange indicator means the microphone is off.
That switch is the one guests can see from the doorway. Use it during a private conversation, or overnight, if that is the level of off you want. Turning the speaker back on is a click, not a factory reset.
2. Review and auto-delete Alexa recordings
In the Amazon Alexa app, go to More > Alexa Privacy, or on a computer open amazon.com/alexaprivacysettings. From there you can review voice recordings and choose how long they are kept.
Amazon's current options, on the page opened for this draft, are auto-delete after 3 months or 18 months, or a setting that does not save the recordings. Pick one on purpose. Leaving the default unexamined is how a year of kitchen chatter stays in an account you forgot you had.
3. Review and auto-delete Google Assistant activity
On a Google account, Assistant activity is tied to Web & App Activity. Open My Activity for that account (Google's Assistant help points you there) and review what was saved. Set auto-delete to 3 months, 18 months or 36 months, whichever matches how long you actually want a history.
You can also say, at the speaker, delete my last conversation, which is the fast version for something you wish you had not just asked out loud.
4. Set HomePod so Siri is only as available as you want
Open the Home app, tap the HomePod, and open the Siri settings for that speaker. If you do not want it listening for the spoken request, turn off Listen For. If you do not want a press-and-hold request either, turn off Touch and Hold. You can leave one on and the other off.
On HomePod software 27.2 and later, the same Siri settings include a way to Delete Siri History. Use it if you want the slate clean on that speaker.
A Nest display (the screen-on-the-counter kind) may also have an on-screen microphone control. The help section opened for this draft did not give a complete, current path for every Hub model, so use the physical switch when the device has one, and look in the display's own settings rather than following a guessed menu.
Still stuck? Find your situation
| What you see | Likely cause | What to do |
|---|---|---|
| A red light on an Echo | The microphone button is off | That is the muted state; press again when you want it back |
| An orange indicator on a Nest speaker | The physical mic switch is off | Same idea; flip the switch to use the speaker again |
| HomePod will not respond to a spoken request | Listen For may be off | Step 4; this is also covered in the not-responding guide |
| Old conversations still in the account | Auto-delete was never set | Steps 2 or 3 |
| You wanted help because the speaker is silent | That may be a power, network or app issue | Use the not-responding guide |
Pro Mode
Pro Mode Pro Mode: what these settings do not cover
Muting a speaker does not log you out of the shopping account tied to it, and it does not change who is in the household on Alexa, Google or Apple Home. If a guest will be in the house, a guest Wi-Fi guide is coming soon. Two-step verification on the Amazon, Google or Apple account is still worth having; see the two-step guide.
HomePod history deletion requires software 27.2 or later. If that option is missing, update the HomePod first, then look again.
Helpful gear
iThis page has affiliate links. If you buy through one, we may earn a small commission at no extra cost to you. Learn more.
- Amazon Echo Dot (opens in a new tab): The Echo Dot has a button that turns the microphones off, so you can mute them when you want privacy.
References
All 4 reference links
- Source: Review and delete your Alexa voice recordings and manage your Alexa privacy settings - Amazon Alexa Help
- Source: Delete your Google Assistant activity - Google Assistant Help
- Source: Turn the microphone on or off on your Google Nest or Home speaker or display - Google Nest Help
- Source: Change HomePod Siri settings in the Home app - Apple Support
Get the next cheat code
Plain-English tech fixes and scam alerts. Tap Follow on Facebook or TikTok, or pick another below.
Want AI to answer your clients?
Our ready-made AI setups come with a step-by-step guide in Easy Mode and Pro Mode. You set them up yourself.
See the AI setupsRelated fixes
Smart Speaker Not Responding? 6 Free Fixes for Alexa, Google Nest and HomePod
Echo, Nest speaker or HomePod ignoring you? Check the mic switch, unplug and restart it, check the app and your Wi-Fi, and save the factory reset for last.
Smart Home · 11 min read
How to Turn On Two-Step Verification
Add a second sign-in step to Google, Apple, Microsoft, Facebook, Instagram and Amazon: pick an app, text code or passkey, then save your backup codes.
Accounts & Security · 11 min read